Sunday, November 24, 2013

DIGM 620 - Final

I have (more or less) figured out the final part of my photogrammetry workflow. Previously, I was generating a model that was an incredibly dense topology and an ugly UV Map. Large models take up a lot of memory and made online sharing and management an issue. For this reason I have been seeking a way to create a low polygon model that maintains most of its texture details. I have heard about ways of doing it, but finding the exact combination of tools has proven allusive. I had experimented with Mudbox, but I ended up hitting a way. Finally with ZBrush I took my high-poly model through towards completion. Let me show you my procedure.

First bring your obj (exported from Meshlab) into Zbrush.


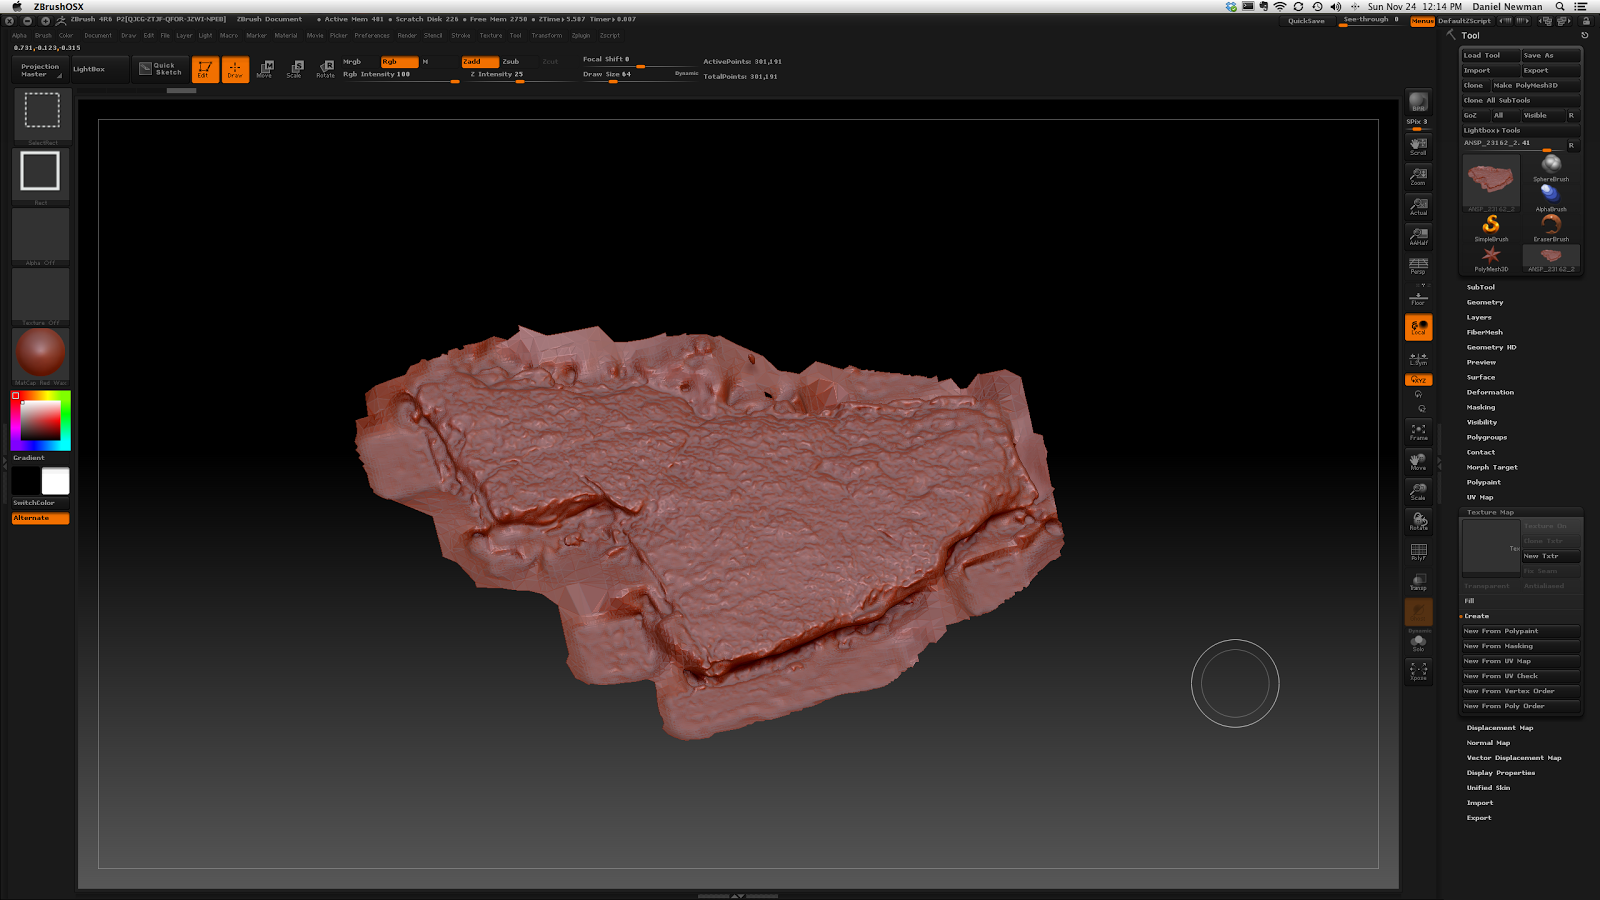
Go into the Texture Map menu and upload the texture map (also from Meshlab)


You might want to switch your material to a flatshader so that you can see your material


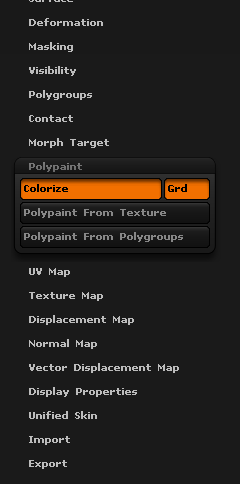
To make the texture information transferable, we need turn that Texture Map information into intermediary Polypaint information. First add a few subdivisions to your model (keep it around 1 million polygons), then hit the "Polypaint From Texture" button. The roundabout pathway is this: Begin with aTexture Map > Turn it into Polypaint > Turn it back into a new Texture Map. 

Next duplicate your object so that you have a second subtool. This will be the low-poly mesh that will receive all texture information. To make a quick low-poly mesh, use something like ZRemesher.

Here is my reduced mesh. 

At this point you should have two subtools: your original high-poly mesh and one reduced copy.   


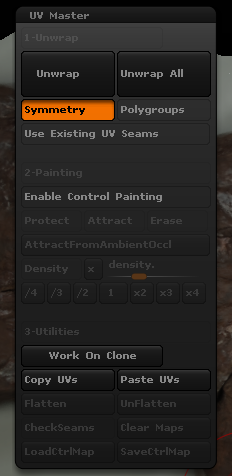
This new mesh doesn't have a defined UV Map, so let's go to the UV Master Zbrush plugin menu. It will ask you to work on a clone (a third-mesh). There are a diversity things you can tweak in this menu, but for simplicity just hit Unwrap and see what happens.

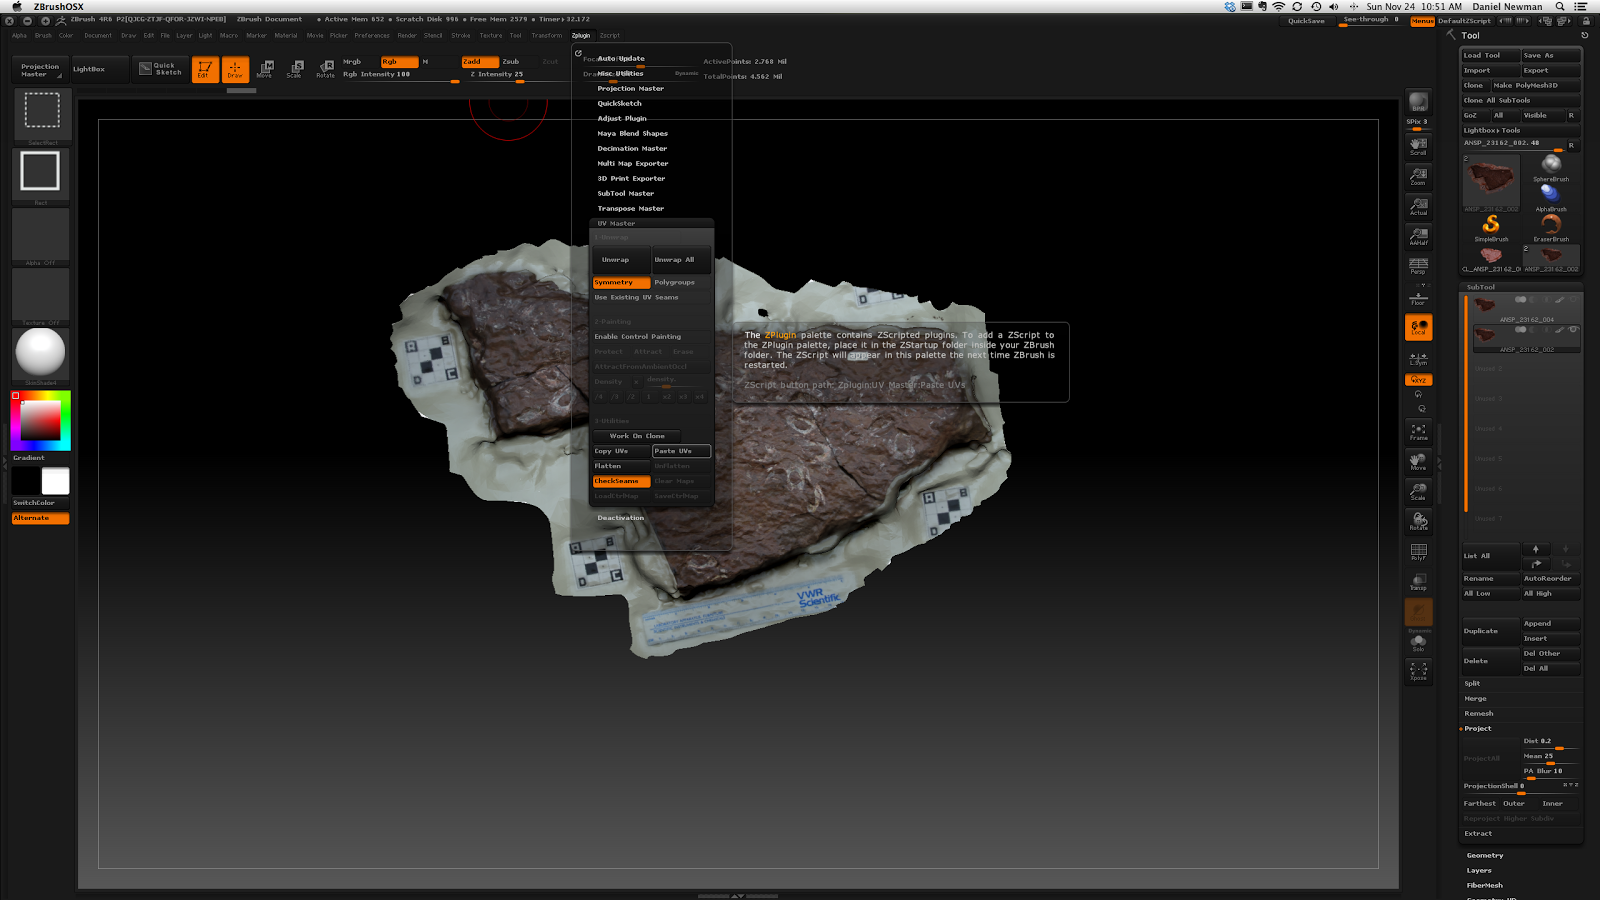
Here is cloned mesh. The orange lines show seambreaks.

When satisfied, copy your UV maps (there is a button) and then past them onto your low-poly model. Your low-poly mesh now has a UV map and so can hold a texture map of its own. The UV map is also much clearer and neater then the source model's map. 

With your original mesh as the top subtool and your low-poly mesh below it and selected, hit the ProjectAll button. This will project details and texture information from the top model to the bottom. I only tweeked the Dist slider (from default of 0.02 to .2)

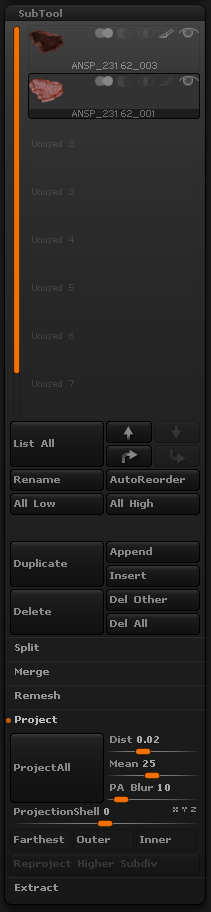
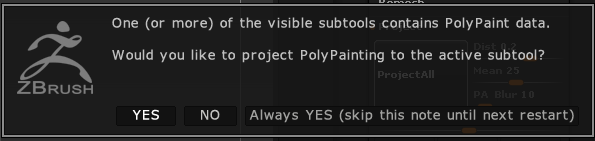
If this menu pops up, then it probably worked. Hit Yes.

After projection, here are the two models. On the left is the original mesh (299,190 faces, 64.3 MB) and the reduced mesh (10,968 faces, 1.6 MB). It's a quite large reduction in size but at a minimal loss in detail. 

Here is the original mesh's UV texture map. Unpleasant, isn't it?

Here is the reduced mesh's UV texture map. Notice the vast improvement in clarity and neatness. 

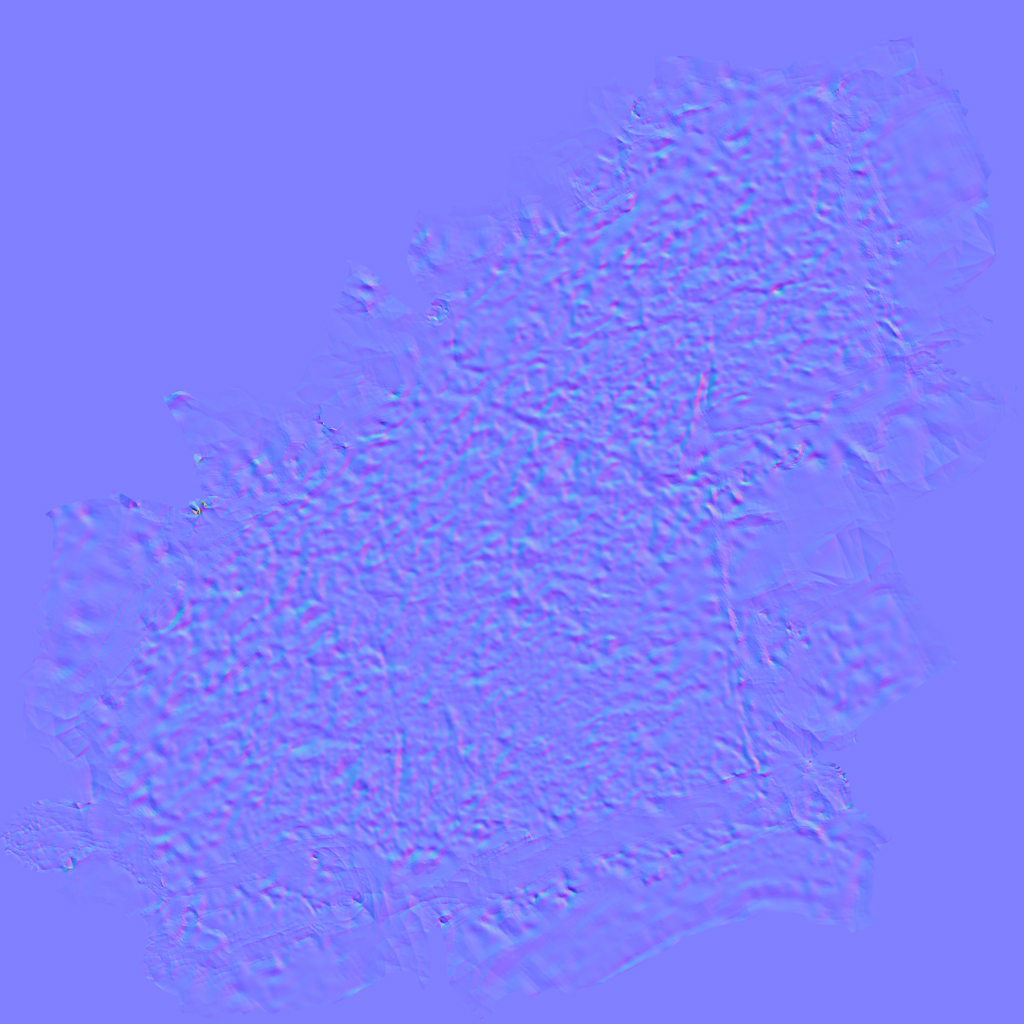
Likewise, the normal map

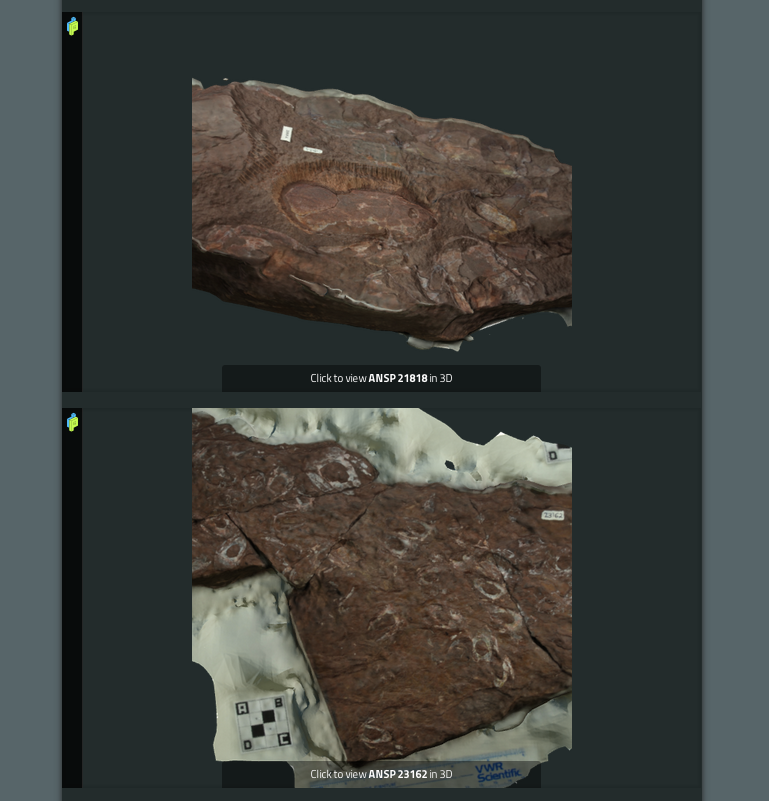
Hit the Goz button to send your model and textures into Maya if you'd like.

Or upload them to an online 3D model service like p3d.in


Final Presentation


Hours

Workflow Troubleshooting: 5hrs
Presentation (Defence & 620 Final): 5 hrs

Sunday, November 17, 2013

Week 8 - 620


News


This past week the Smithsonian held a conference to talk about and demonstrate their attempts to digitize collection. Their pilot program released a dedicated website to host a series of objects from the institution's collections and a powerful 3D viewer to present them. These objects include prehistoric whale skeletons, CT-scanned insects, even a whole mammoth skeleton. Everything they mentioned echoes what my thesis has been striving for: accessibility, engaging the public, mobilizing the 99% of collections that remain undisplayed, and science outreach. This is only the most recent example of a digital museum collection announcement. 


Website

I set up a quick Wordpress site to eventually host my final animation. Other digital museum objects are being given dedicated sites, so I think this is the way to go. Right now I just a placeholder Vimeo video and a p3d.in embedded 3D model, but eventually there will be more content associated with the project (concept art, etc).


The site is available here:
http://www.danieljoelnewman.com/bothriolepis/


Sections
Here is a graphic that I hope will explain the overall structure of the animation. There will be three main sections: a contextual section, an ontogenic section, and a cinematic or environmental section. 


Hours

Setting up Wordpress 2 hrs

Troubleshooting Workflow 2 hrs

Presentation Prep 2 hrs

Research & Reading 2 hrs


Sunday, November 10, 2013

Week 7 - 620

I have been looking for an alternative workflow to 123D Catch due to some of limitations I've encountered. While the service does generate some nice results, it is a blackbox situation where I have little control over what is going on.
Blackbox

I have come across a separate workflow that relies entirely on open-source, free programs. VisualSFM (Structure from Motion) is a bundle of programs that can generate a point cloud from a series of photographs. This point-cloud can then sent to Meshlab in order to generate a polygonal mesh.  After many attempts, I have finally sent a sequence of photographs through the entire workflow to generate a model. One positive aspect of this workflow is that a single UV map is generated.
Sequence of Blackboxes


VisualSFM Interface - Dense Reconstruction

Dense Reconstruction in Meshlab

Polygonal Mesh in Meshlab

Final Mesh in Maya
Retopology

I have also begun generating some environmental assets for the future animation:


Hours
Research & Writing: 2 hr
Workflow Troubleshooting: 5 hrs
Asset Creation: 3 hr


Sunday, November 3, 2013

Week 6 - DIGM 620


Here's a prototype of scaling being applied to an ambient animation.


Here are some early storyboards


Hours

Storyboarding 2 hrs

Prototype Rig - 2 hrs

Reading and Research - 1 hr

VirtualSFM experimenting - 5 hrs